

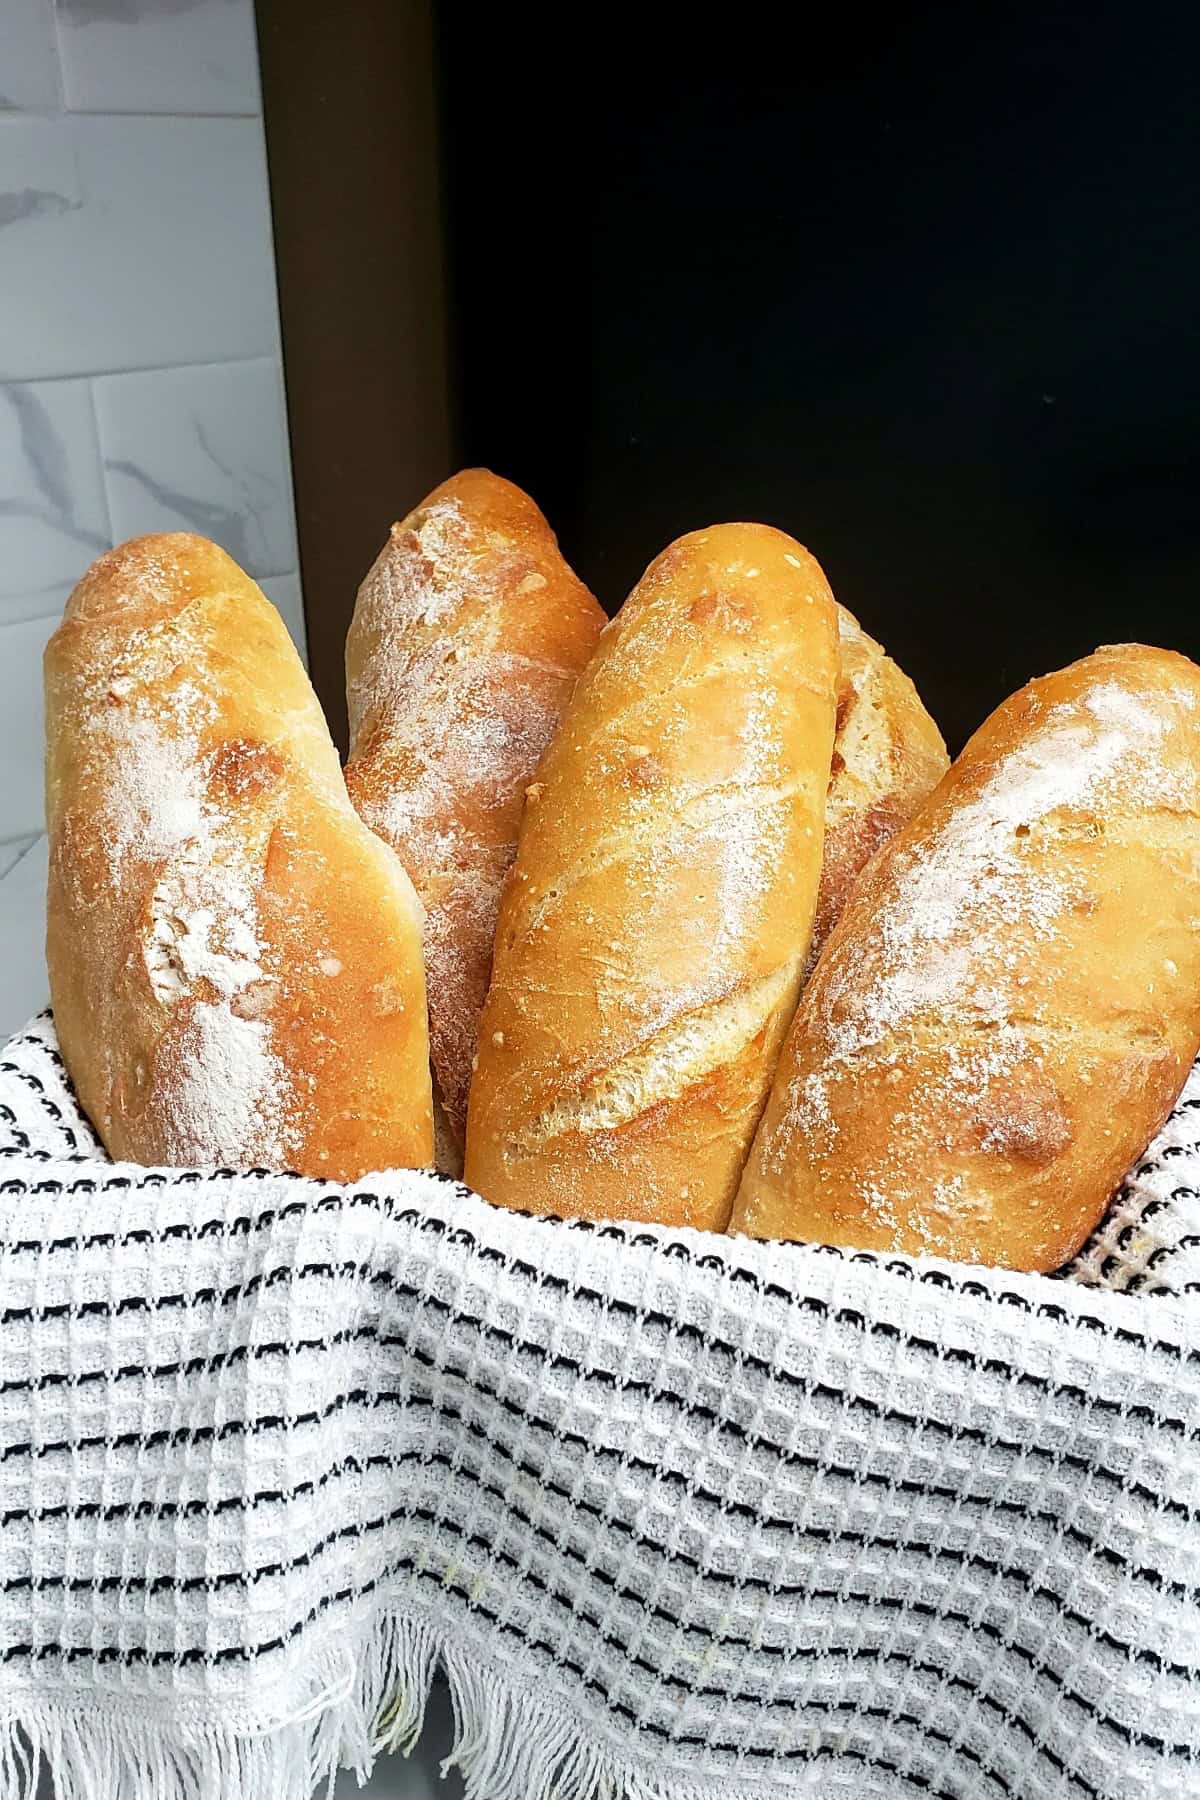
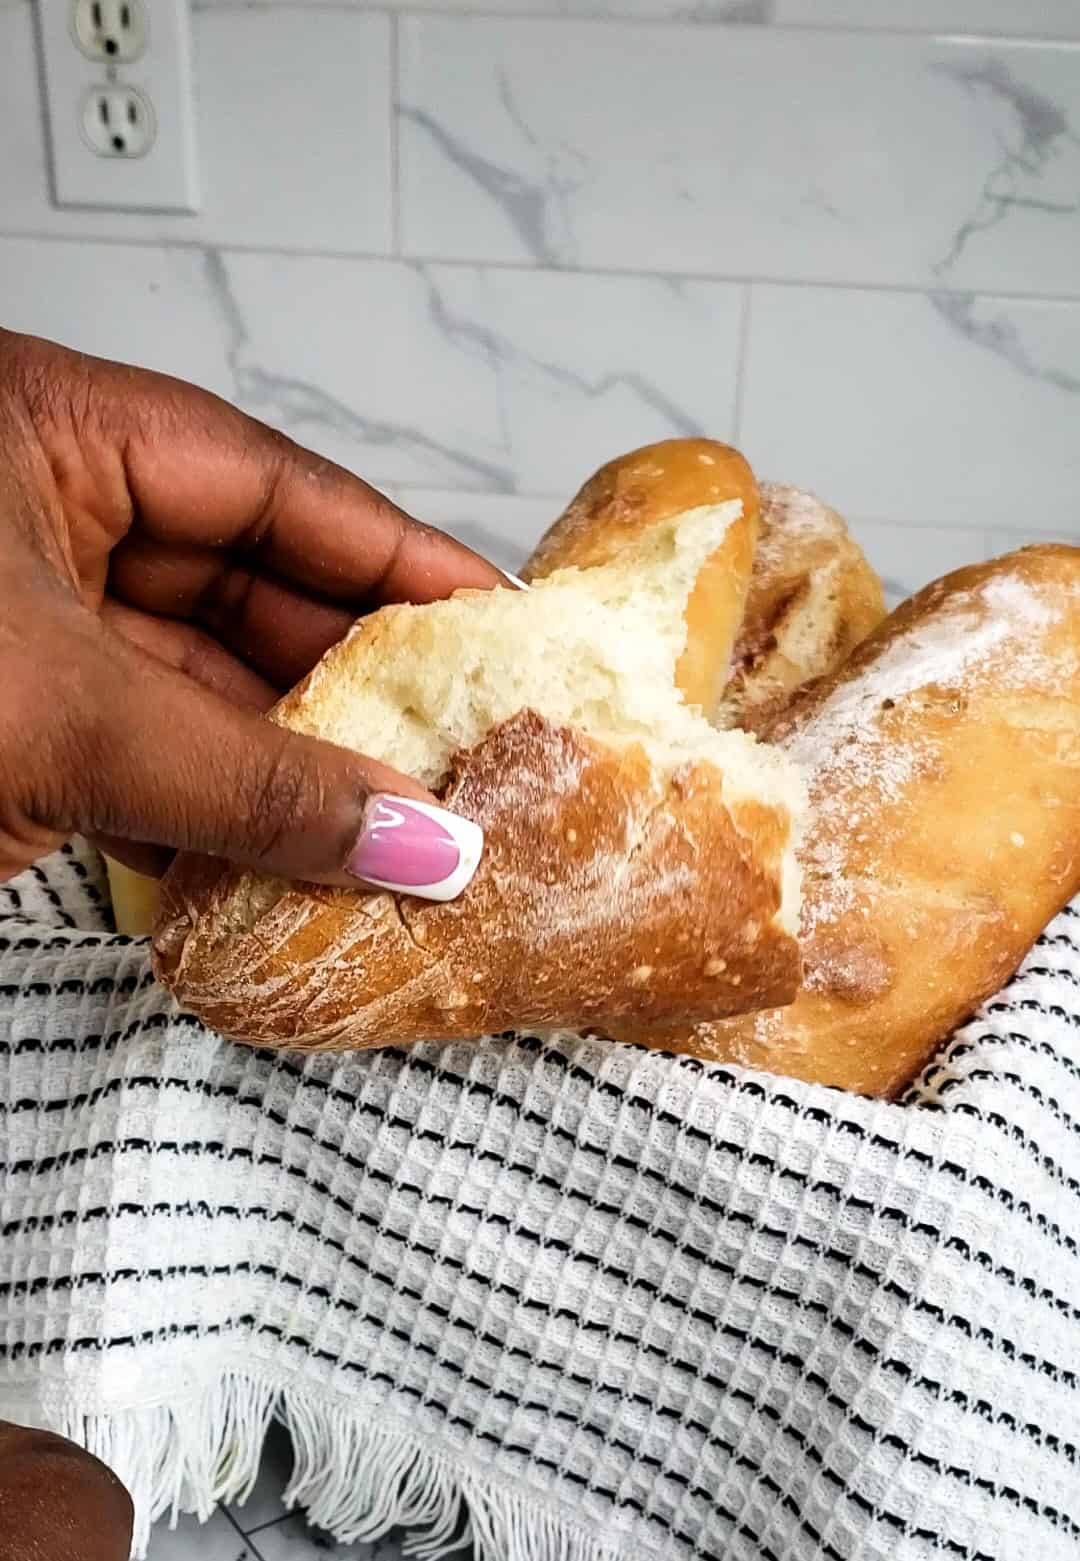
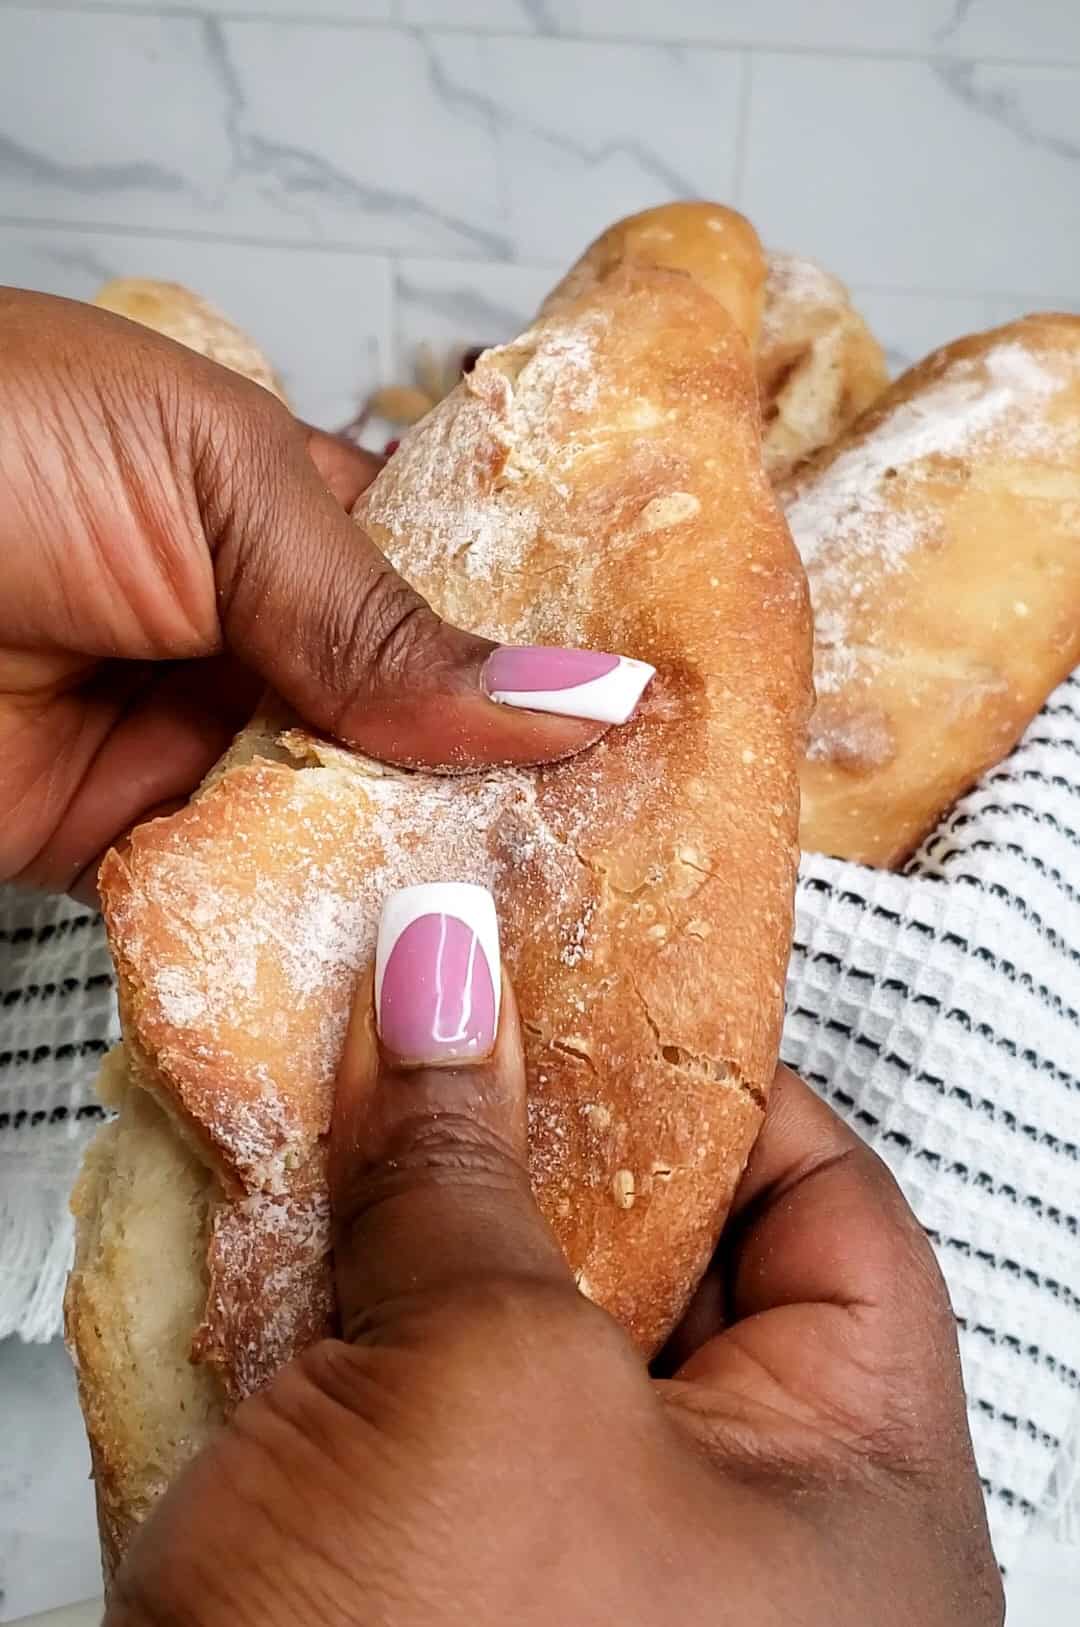
These easy no knead baguettes turn out perfect every single time! They have the perfect crispy, crackly crust and a soft, chewy interior that you will absolutely love.
If you've never baked bread from scratch, you've got to try this simple and effortless recipe.
Making bread from scratch is something I have been trying out quite often recently. My Homemade Shawarma Bread,Soft Milk bread and East African Chapati are staples in my household.
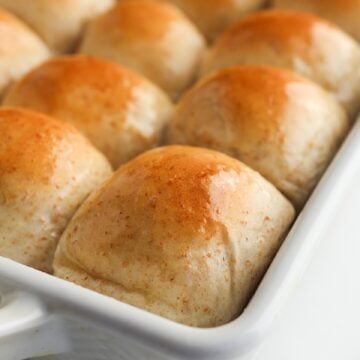
I also tried my hand at Whole Wheat Dinner Rolls, and they turned out fantastic, which inspired me to try more easy bread recipes to pair with my other favorite foods. This homemade bread pairs perfectly with saucy dishes like our easy Mediterranean fish.
Jump to:
What I Love About this Recipe
It's a simple, effortless and easy recipe that yields perfect results every single time.
You'll need no fancy equipment to make these baguettes. Just your kitchen essentials and a few minutes of hands-on time. It's just perfect for beginners.
It's super versatile, and you can even batch make and freeze the bread for later with this recipe.
Recipe Ingredients
All-purpose flour: Due to its versatility and availability, it is the most common type of flour used in making baguettes, especially in home kitchens. Bread flour can also be used.
Yeast: I used active dry yeast here. Ensure the yeast you're using is fresh and well within the expiry date on the package.
Salt: To season.
See the recipe card for quantities.
Variations & Substitutions
- Add some sugar to the warm water to speed up the yeast blooming process.
- For extra flavor, you can also mix some dried herbs of your choice or add a pinch or two of garlic powder (or even red pepper flakes) into the dough after proofing it.
How to Make No-Knead Baguettes
To make these no-knead baguettes, you must get all your ingredients ready. Also, remember to preheat the oven to 475℉ when they're around 10 minutes of proofing time left.
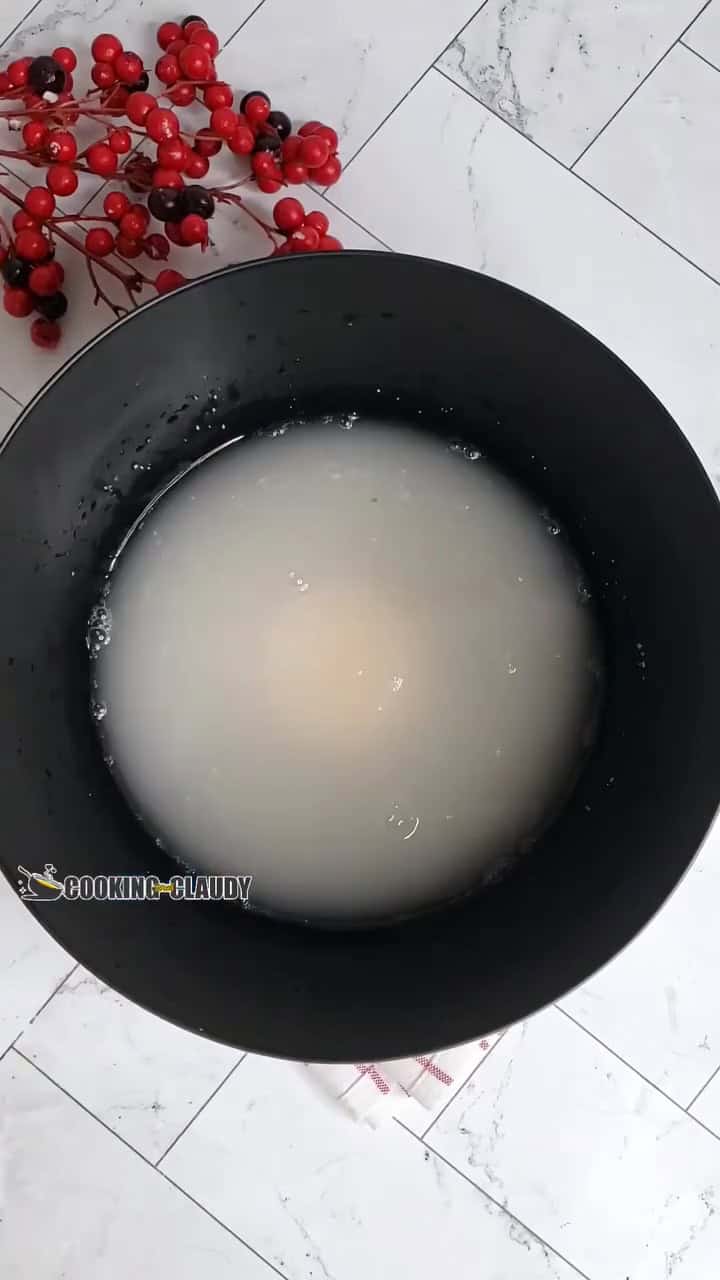
- Combine warm water and active dry yeast in a bowl. Stir and let this rest for 5-10 minutes until it turns bubbly.
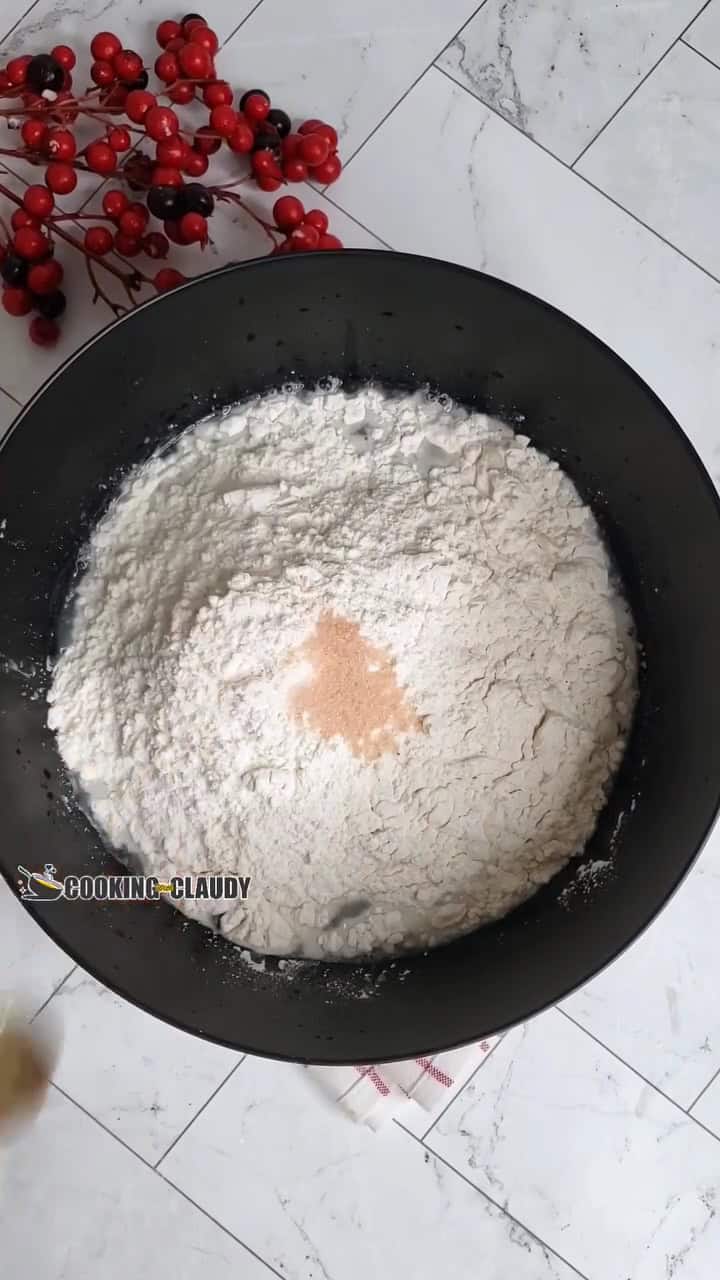
- In another bowl, mix the flour and salt.
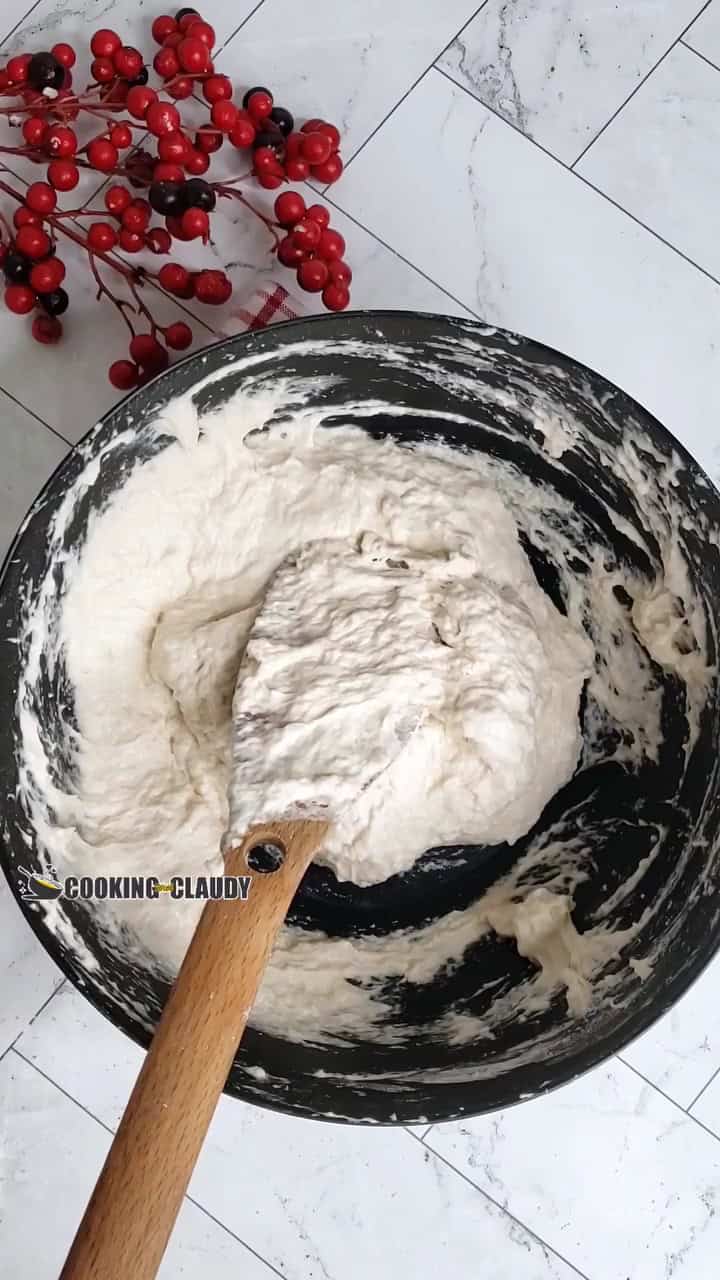
- Pour the yeast mixture into the flour and mix everything with a wooden spoon until you have a sticky dough.
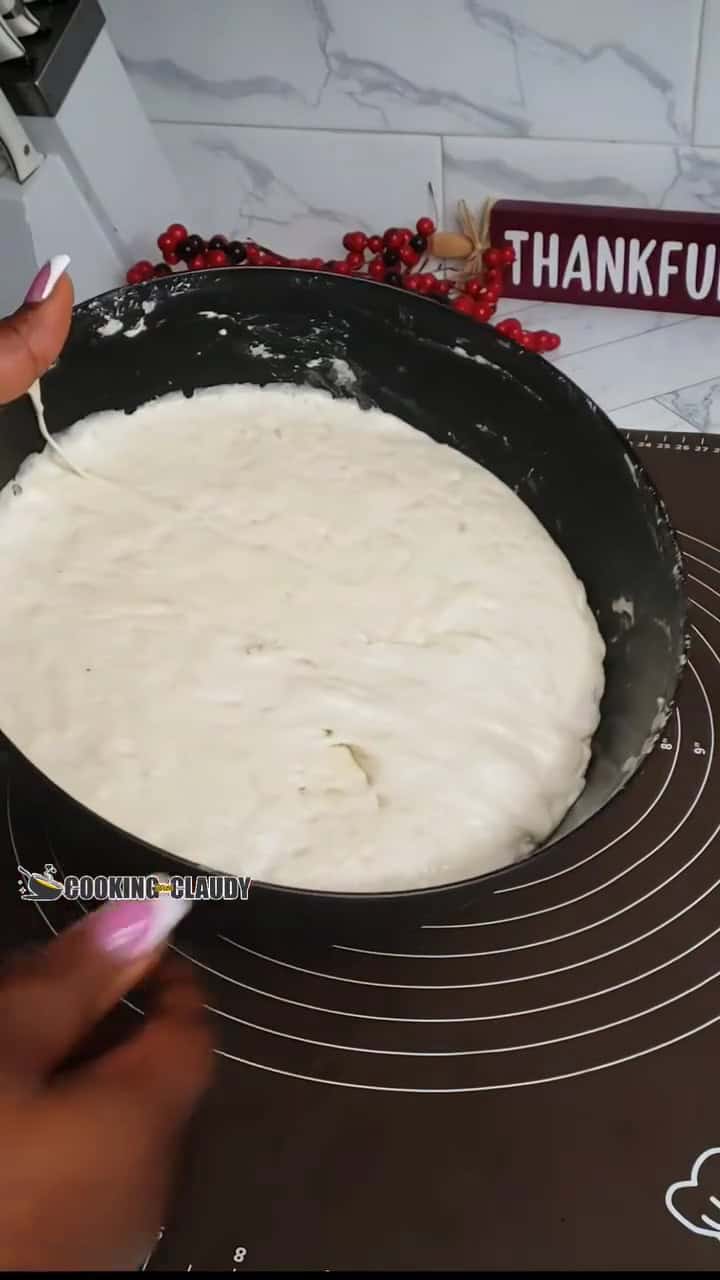
- Cover this with plastic wrap and let it rest at room temperature for 1 hour. The dough should have doubled in size.
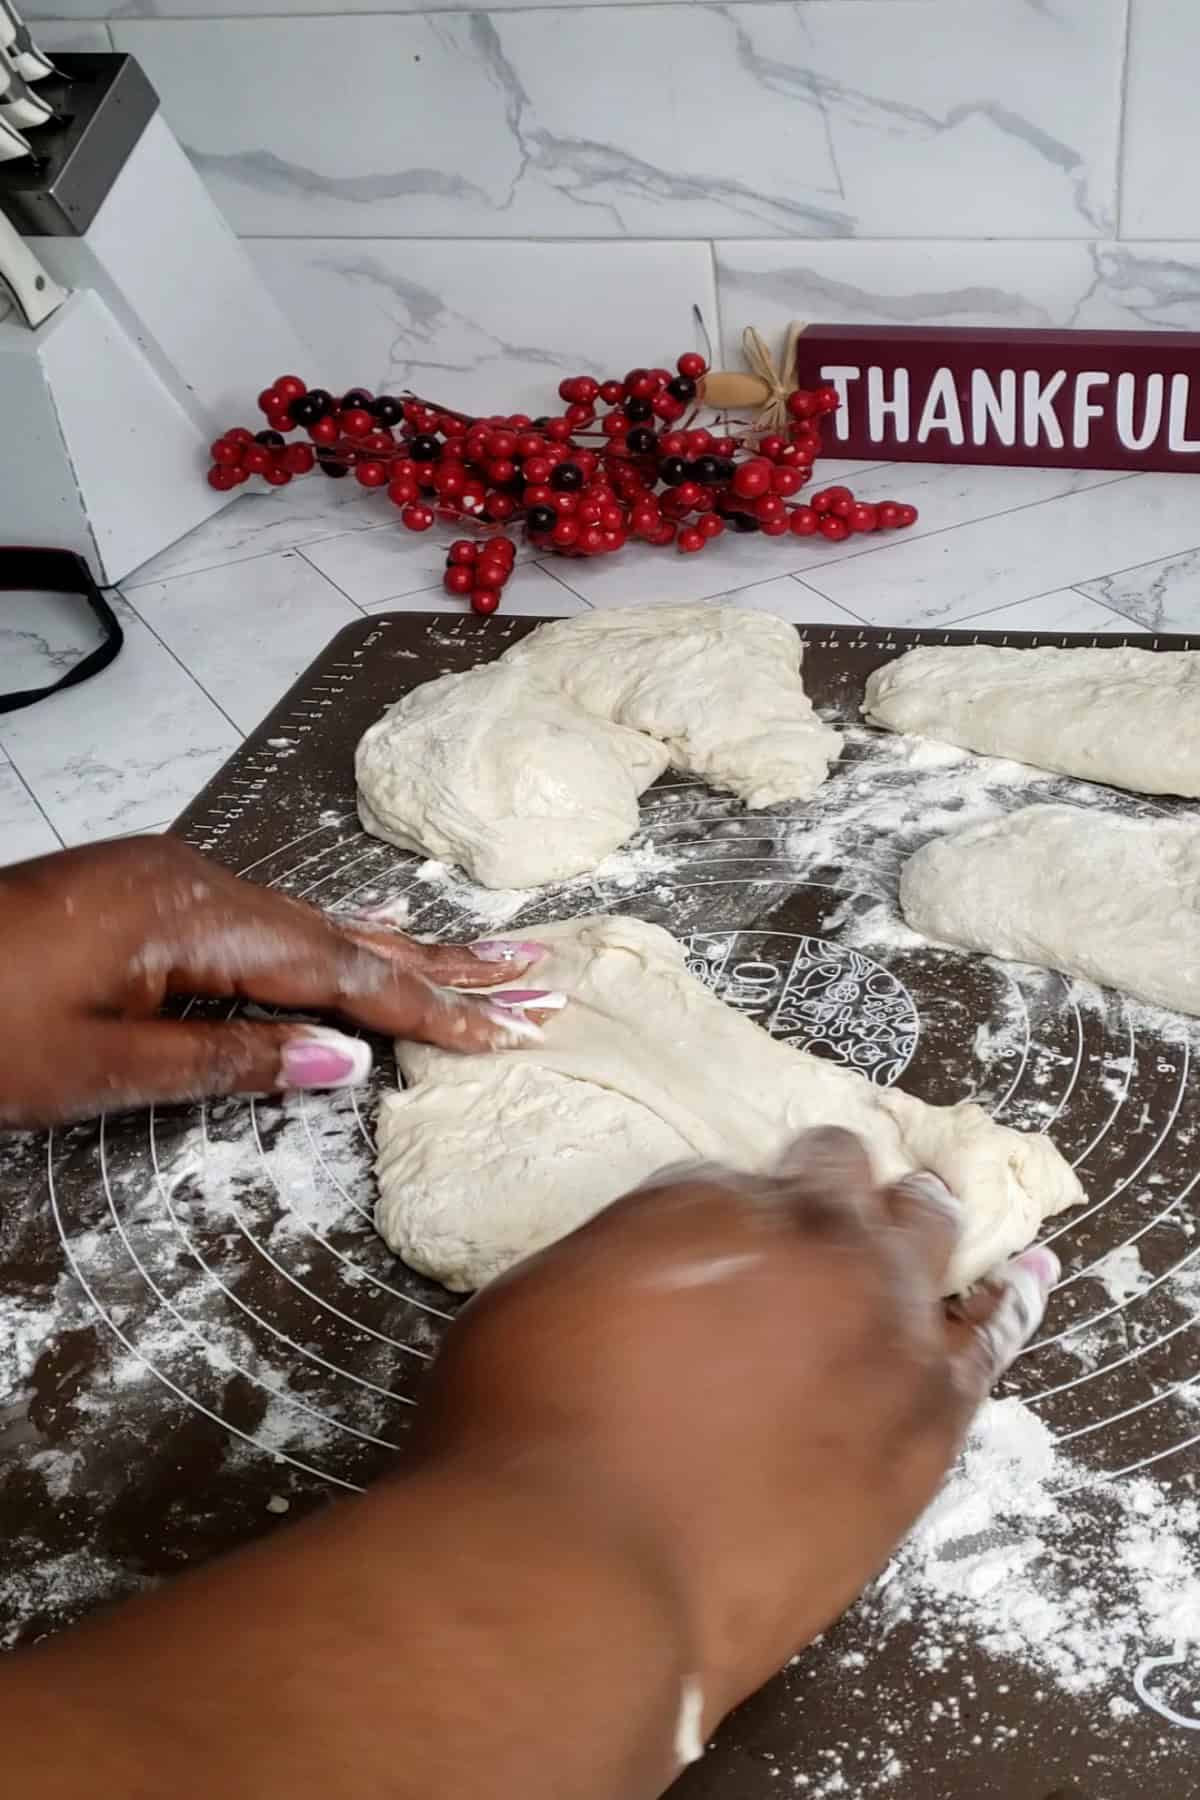
- Portion the dough onto a flat surface with flour. Gently shape it into an oblong or rectangular shape.
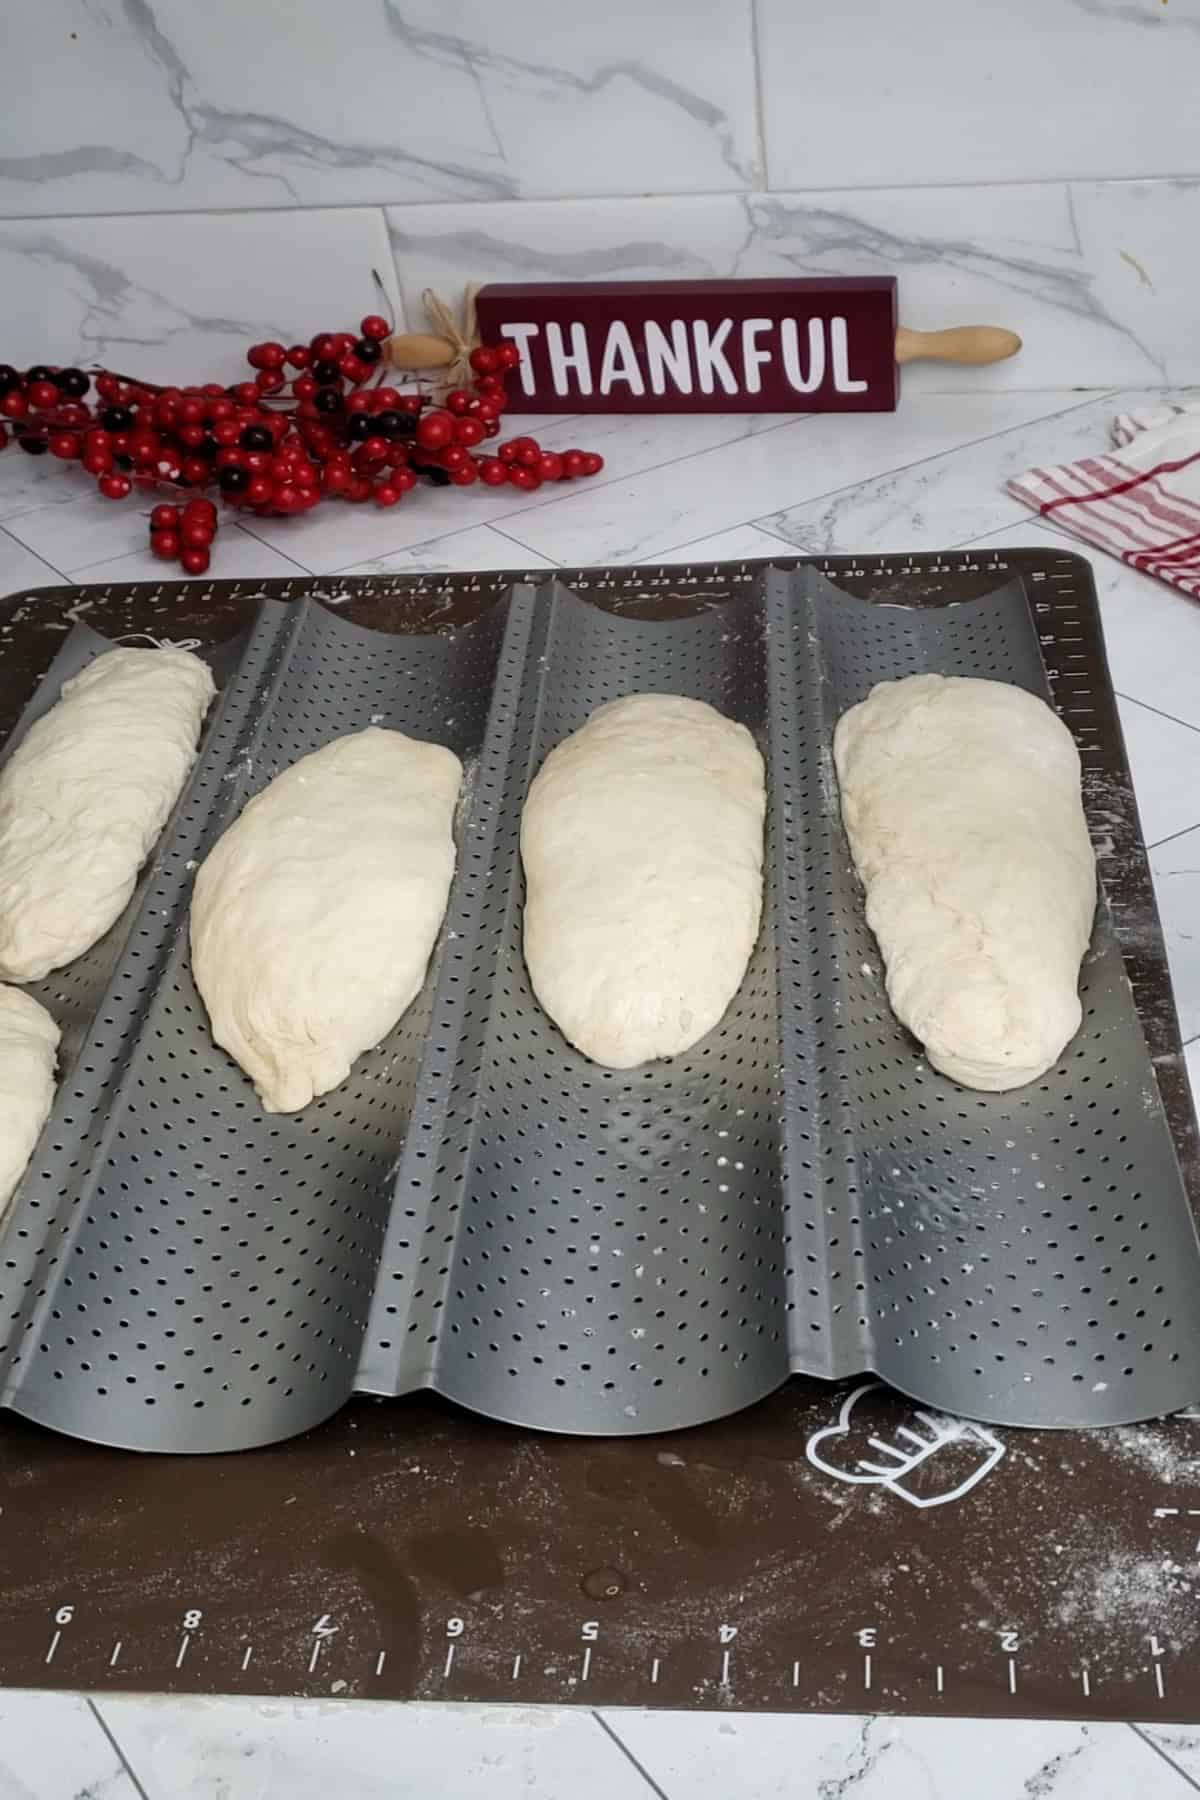
- Transfer them to a baguette pan and let them rise for another 45 minutes. Make shallow diagonal dashes on the surface and sprinkle some flour over it. Bake for 20-30 minutes.
Storing Leftovers
You can store leftover no-knead baguettes in an airtight container at room temperature for up to 3 days.
You can also make a few loaves of bread in a batch, cover them with plastic wrap, and freeze them in a freezer-safe bag. When you want to use them, you'll need to unwrap and reheat them in the oven—the texture of the bread will be just as great as freshly baked bread.
Tips & Tricks to Make the No Knead Baguettes
- Make sure you use warm water to let the yeast bloom. If the water is not warm enough, the yeast won't bloom properly, and if it is too hot, it may kill the yeast.
- To check if the yeast is fresh and can be used, look for some froth and bubbling after the 10-minute mark. If the mixture seems flat, the yeast has probably gone bad and doesn't work.
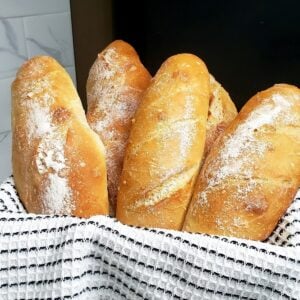
- You can also shape the dough into more miniature baguettes if you want to. Just remember that the cooking time for these small baguettes will be shorter. Keep an eye on them to check for a nice golden brown exterior.
- If you want the baguette's crust to be a bit more crispy, you can fill the bottom pan of your oven with water. The water will turn into steam while the bread is cooking, and you'll get that fantastic crispy crust on the outside.
- Remember that this is a no-knead bread, so you'll rely on the proofing time to get that perfect airy texture. Follow the proofing and resting instructions well.
Serving Ideas & Suggestions
Use these no-knead baguettes as the base for your homemade sandwiches, or slice them up and bake them until they're crispy to pair with your bread dipping sauce or other condiments.
I love serving these baguettes with Mediterranean fish, smothered turkey wings, and seared red snapper.
This bread is also amazing when paired with a curry or stew dish, such as Jamaican Curry Goat, Caribbean Steamed Fish, or Coconut Beef Curry.

Recipe FAQs
Yes, baguettes can be frozen! To keep them fresh, wrap the baguette tightly in plastic wrap or aluminum foil, then place it in a freezer bag. To thaw, heat it in an oven to regain some of its original crustiness.
If you don't score the bread, the high oven temperature will cause a burst of gas from the center, rupturing the bread. Scoring is a must!
The bread should appear golden brown, and its slits should have opened when they it is cooked. You can also flip the bread over on a kitchen towel and tap the bottom of the bread to check. If you hear a hollow sound, it means the bread is done.
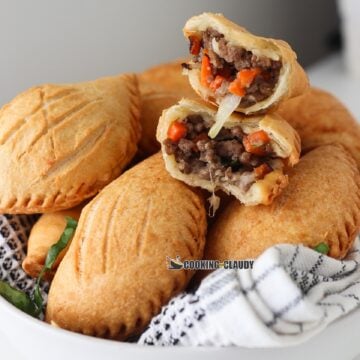
More Bread Recipes to Try
Looking for other recipes like this? Try these:


If you tried these no knead baguettes or any other recipe on my website, please leave a 🌟 star rating and let me know how it went in the 📝 comments below. Thanks for visiting!
Easy No Knead Baguettes
Instructions
- In a small bowl, combine the warm water, and active dry yeast. Stir and let sit for about 5-10 minutes until it’s bubbly and frothy.1 teaspoon yeast, 1½ Cup water
- Combine the flour and salt in a large bowl. Once the yeast mixture is ready, pour it into the bowl with the dry ingredients. Stir with a wooden spoon or spatula until you get a rough and sticky dough. Don’t worry about it being perfect—this is no-knead!3 ½ Bread Flour, 2 teaspoon Salt
- Cover the bowl with a clean kitchen towel or plastic wrap. Let the dough rise at room temperature for about 1 hour. The dough should double in size.
- Sprinkle flour on the working surface, transfer the dough it and cut into portions ( I cut mine into 5-6 portions because we are making the mini baguettes, to make the longer baguettes cut into 4 portions).
- Take one portion of dough and gently flatten it into a rectangle or an oblong shape using your hands (no rolling pin needed because it will degas the dough). Fold the long sides of the rectangle toward the middle, about one-third of the dough width. You’ll form a seam down the center of the dough. Next, starting from the top edge, roll the dough tightly, like you’re making a jelly roll. Roll it into a log shape, tucking in any loose edges. The goal is to create a smooth seam down the length of the dough.
- Transfer the dough to a baguette pan, cover and allow to rise for 45 minutes. The dough should puff up slightly but not double in size.
- Preheat the oven to 475℉, 10 minutes left until the proofing time is over.
- Use a sharp knife, razor blade, or a lame to make shallow diagonal slashes (around 2 to 3 cuts). The cuts should be about ¼ inch deep. Slash at an angle to mimic the classic baguette shape.
- Brush some water and sprinkle some flour on it.
- Bake for 20-30 minutes until they have a golden brown color and crusty at the top.
- Remove from the oven, let it cool, then serve.
Notes
- Make sure you use warm water to let the yeast bloom. If the water is not warm enough, the yeast won't bloom properly, and if the water is too hot, it may kill the yeast.
- To check if the yeast is fresh and can be used, look for a nice bit of froth and bubbling after the 10 minute mark. If the mixture looks flat, it means the yeast has probably gone bad and doesn't work.
- You can also shape the dough into smaller baguettes if you want to. Just remember that the cooking time for these small baguettes will be shorter. Keep an eye on them to check for a nice golden brown exterior.
- If you want the baguette to have a bit of extra crispiness on the crust, you can fill the bottom pan of your oven with water. This will create steam inside the oven while the bread is cooking, and you'll have that amazing crispy texture you're looking for.

Bilikis says
Thanks for the recipe ma
Claudy says
With just 3 ingredients, you'll be surprised how easy they are to make. Very crusty and tasty. Try this and save it.
Claudy